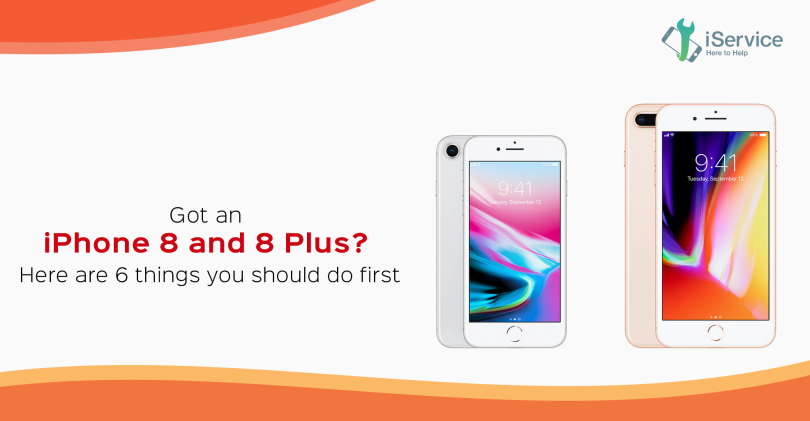
If you own an iPhone 8 or an iPhone 8 Plus, be assured that you have a future ready smartphone in your hand! Though these lack a few things that the iPhone X has, they still have a lot common with that iconic iPhone variant. These iPhones come with an all glass body that allows wireless charging, they pack the powerful A11 Bionic process and also come with True Tone Retina HD display. There is so much more you can do with your iPhone 8 and iPhone 8 Plus. These are probably going to be the last iPhones that came with a physical Home button!
So, now that you own these stunners, what do you do first?
- Restore your data :
The very first step after you unbox and start up the iPhone 8 or 8 Plus would be to login with your Apple ID or create one if you do not have one and then proceed with the rest of the steps in the Start up Wizard. If you have already not created a backup from your previous iPhone in the iCloud, start with that first. And then restore your old data into your new iPhone from the iCloud. iTunes backup is another option, but then you would have to do that on your computer. For the Android users migrating to iOS for the first time, there are several apps to assist you in this. But the safest and the most reliable option is Apple’s Move to iOS app.
- Setting up the Touch ID and the Home button feel:
If you are someone who has always loved Apple’s Touch ID you would not be disappointed with that on the iPhone 8 and 8Plus. It is even smoother and quicker on these iPhones. Setting your fingerprint authentication, adding the allowed users’ fingerprints and passcode would be the first crucial step to ensure that the data on your iPhone is secured. You can perform the process in Settings>Touch ID & Passcode. You can then enable Touch ID authentication for various functions and apps including Apple Pay, for secure payments.
Then comes the configuration of the Home button clicks. This is very much similar to what you find on the iPhone 7. As the Home button on these phones are not going to give you a hard sounding click anymore, you can adjust the click intensity.
- Set up Find my iPhone:
This is one of the most ignored steps. You might sometimes postpone this step for a later point of time. But doing it right away would be the best idea to keep your iPhone safe. The Find My iPhone app on the iOS 11 is very similar to the previous versions and the setup is not going to take long.
- Change the look and feel of your Control Center:
Control Center customisation is one of the most elegant additions that the iOS 11 brought.
Settings>Control Center>Customise Controls. This is where you add and remove all the functions you want on your Control Center, the ones that you use the most.
- Apple Pay and Siri:
These are the most powerful iPhone tools that you would be using almost every day. So start with enabling Siri and configure it. Siri on iOS 11 can do so much more than what it could in the previous iOS versions. You have a lot to explore later. Add your card details in the Wallet app. These details are not going to be moved from your previous iPhones to the iPhone 8 and 8 Plus when you restore the data- so you would have to manually set up the wallet again.
- ARKit apps:
ARKit is probably one of the coolest additions to the iOS 11. AR on iPhones is getting better with the introduction of the A11 chip with Core ML. This is why the AR apps are truly immersive when used on the iPhone 8 and later variants. You would be able to find a good assortment of AR apps in the AR section in the App Store.
If you have a wireless charging dock already, try the wireless charging feature on the iPhone 8 and 8 Plus. iOS 11 in general has some handy tweaks to check out and these just get even better on the iPhone 8 and 8 Plus.


